
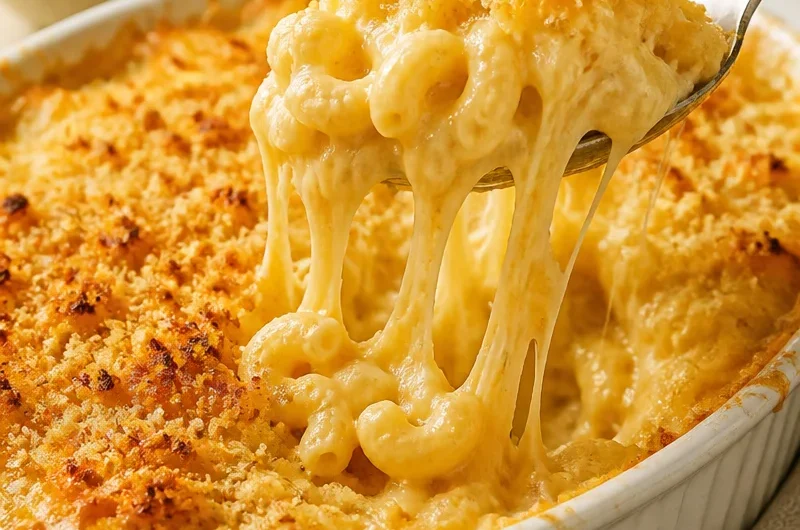
Baked Mac and Cheese with Three Cheeses
When you’re craving comfort food, nothing hits the spot quite like baked mac and cheese. This creamy version combines elbow macaroni with a generous blend of cheeses for an indulgent experience. This recipe is not just easy to make, but it also creates a warm, gooey dish that is perfect for any occasion, especially those cozy evenings at home.
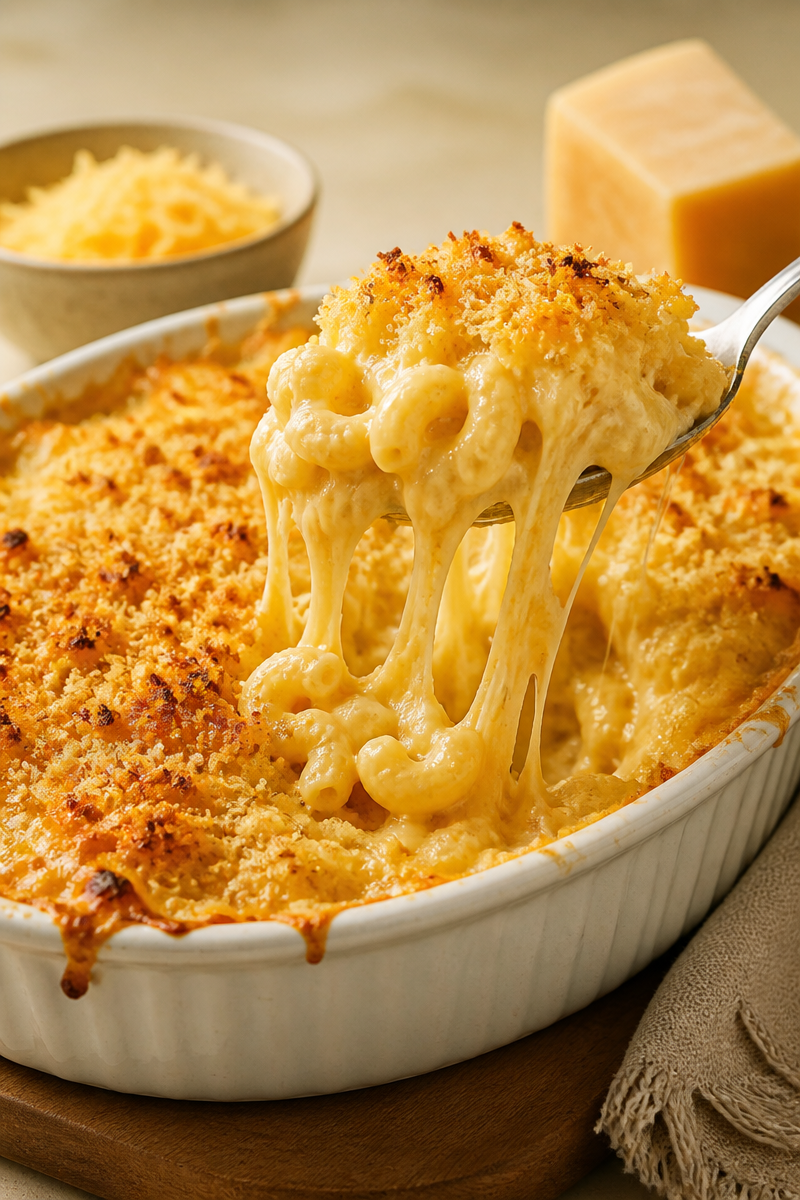
Why This Recipe Works
- Family-friendly and kid-approved
- Quick prep with basic pantry ingredients
- Rich in flavor with three different cheeses
- Oven-baked for that perfect golden crust
This baked mac and cheese is a go-to for its simplicity and satisfying taste. The combination of cheddar, mozzarella, and Parmesan creates a delightful creaminess that elevates this classic dish. You may also find Authentic Kaesespatzle German Macaroni And Cheese useful.
Ingredients
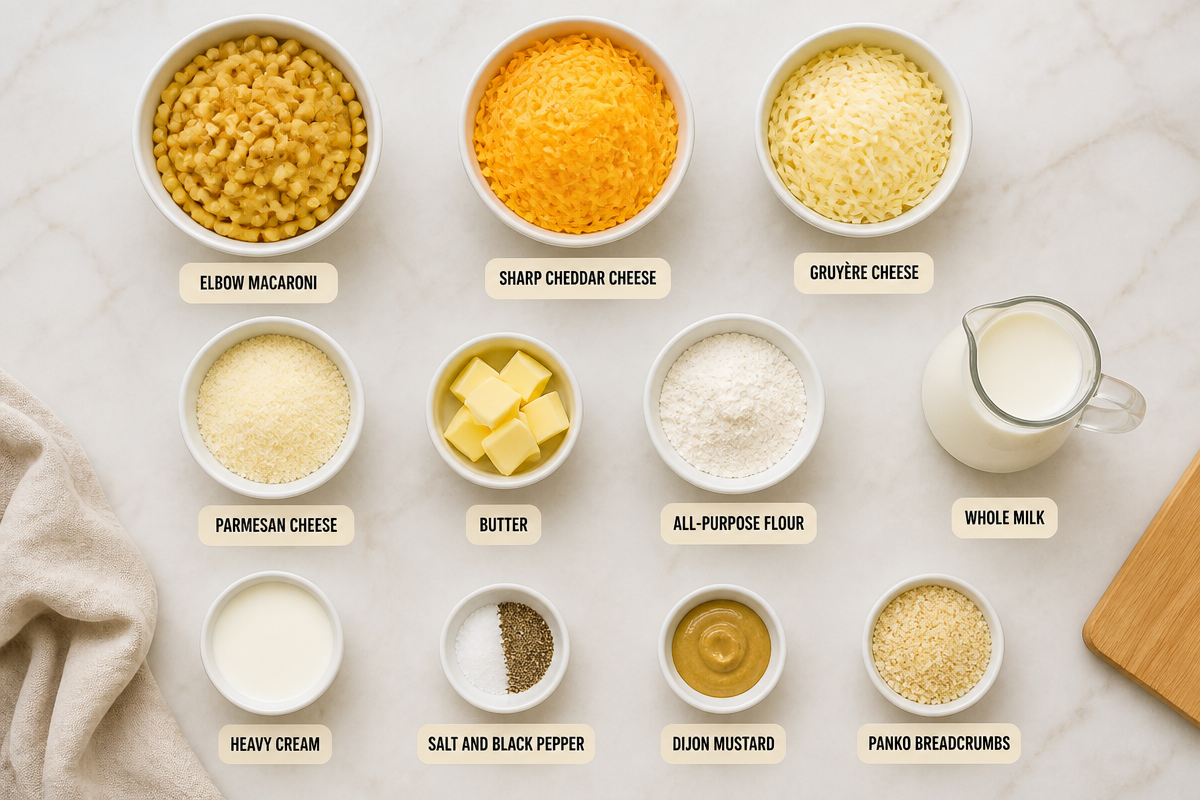
You may also find Creamy Tartiflette With Potatoes Bacon And Cheese useful.
- 8 oz elbow macaroni
- 2 cups shredded cheddar cheese
- 1 cup shredded mozzarella cheese
- 1 cup grated Parmesan cheese
- 3 tablespoons butter
- 3 tablespoons all-purpose flour
- 2 cups milk
- 1 teaspoon garlic powder
- 1 teaspoon onion powder
- Salt and pepper to taste
- 1/2 cup breadcrumbs (optional)
When selecting your cheeses, opt for high-quality brands to enhance the flavor of the dish. If you’re looking for alternatives, you can use gluten-free pasta for those with dietary restrictions or substitute dairy cheese with plant-based options to make this dish vegan.
Step-by-Step Directions
-
Preheat the oven to 350°F (175°C). It’s essential to get the oven hot enough to achieve that golden, bubbly crust on your baked mac and cheese.
-
Cook the macaroni according to package directions; drain. Make sure not to overcook the pasta; it should be firm as it will continue baking later.
-
In a saucepan, melt the butter over medium heat. Once melted, stir in the flour and cook for 1 minute until it forms a paste, ensuring no lumps remain.
-
Gradually whisk in the milk, stirring constantly until thickened. Keep an eye on the mixture; it should begin to bubble slightly as it thickens to prevent burning.
-
Add the cheddar, mozzarella, and Parmesan cheeses, stirring until melted and smooth. The cheese mixture should be creamy and oozy, so don’t rush this step.
-
Mix the cheese sauce with the macaroni. Season your mixture with garlic powder, onion powder, salt, and pepper for an extra punch of flavor.
-
Pour the mixture into a baking dish and top with breadcrumbs if desired. The breadcrumbs add a nice texture that contrasts well with the creamy filling; this optional step enhances the dish.
-
Bake for 25-30 minutes or until bubbly and golden on top. Look for a crispy, golden crust that’s just starting to brown for the best texture and flavor.
Serving Suggestions
Here are three serving ideas to complement your baked mac and cheese:
- Pair it with a fresh garden salad for a refreshing contrast.
- Serve alongside grilled chicken or a protein of your choice for a complete meal.
- Top with extra melted cheese and fresh herbs, like parsley, for an attractive finish.
Bring this dish to your next family gathering or serve it during a cozy movie night for an unforgettable dining experience.
Storage and Reheating
Store leftover mac and cheese in an airtight container in the refrigerator for up to 4 days. If you want to keep it longer, you can freeze it for up to 3 months. When reheating, try using the oven at 350°F for about 15-20 minutes for the best texture. This way, your mac and cheese will come back to life rather than becoming dry.
Pro Tips / Common Mistakes
-
Flavor technique: Experiment with different cheeses for added complexity, like smoked Gouda or fontina, which can enhance the overall taste.
-
Texture trick: For a creamier sauce, increase the amount of cheese slightly and reduce the flour a bit.
-
Most common mistake and how to fix it: Avoid overcooking the macaroni; it should be al dente before baking to prevent mushiness.
-
Ingredient upgrade: Use freshly grated cheese instead of pre-shredded varieties. Fresh cheese melts better and offers superior flavor.
-
Time-saving technique: Prepare a larger batch of the cheese sauce and replace the macaroni with different types of pasta throughout the week to keep things exciting.
Variations
Spicy Version
Add diced jalapeños or a teaspoon of cayenne pepper to the cheese sauce for a kick of heat that takes your mac and cheese to the next level.
Lighter and Healthier Version
Use whole wheat or gluten-free pasta and substitute low-fat cheese options for a lighter dish without compromising on flavor.
Vegetarian or Vegan Version
Replace the cheeses with plant-based alternatives and use almond milk in the sauce for a delicious vegan take on this beloved classic.
FAQ
Q: Can I make this dish ahead of time?
A: Yes, you can prepare the mac and cheese in advance. Just cover it and refrigerate it for up to 24 hours before baking.
Q: How can I fix a texture problem if my mac and cheese is too dry?
A: If your baked mac and cheese comes out dry, add a little bit of milk before reheating to restore its creaminess.
Q: What’s the best substitution for shredded cheese?
A: A combination of cream cheeses and nutritional yeast can provide a creamy and cheesy flavor for a dairy-free option.
Q: How long does baked mac and cheese keep?
A: In the refrigerator, it will keep for about 4 days. If freezing, it’s best enjoyed within 3 months.
Q: How can I adjust the batch size?
A: Simply double or halve the ingredients as needed, keeping the same ratios for consistency in taste and texture.
Q: Do I need to pre-cook the pasta?
A: Yes, cooking the pasta until it’s al dente ensures it retains the right texture during baking.
Conclusion
Baked mac and cheese is a foolproof recipe that everyone loves. Using a trio of cheeses ensures a rich, creamy dish that’s perfect for gatherings or cozy dinners. If you’re looking for more inspiration, check out this Baked Macaroni with Three Cheeses Recipe or try the Creamy Baked Mac and Cheese. Enjoy making and sharing this delightful dish!
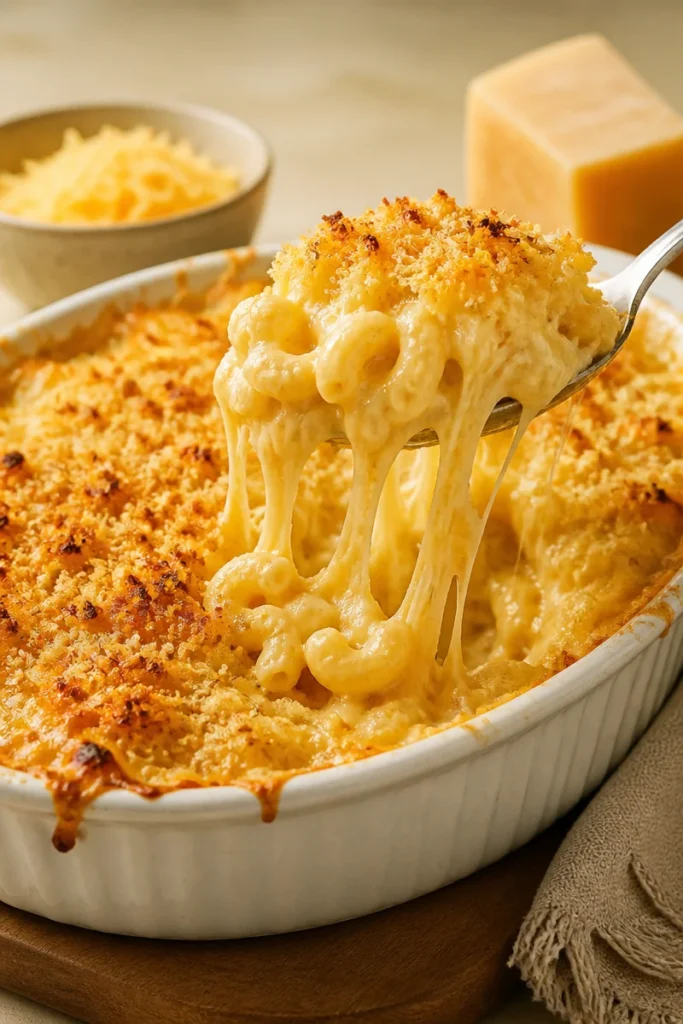
Baked Mac and Cheese
Ingredients
Method
- Preheat the oven to 350°F (175°C).
- Cook the macaroni according to package directions; drain and set aside.
- In a saucepan, melt the butter over medium heat. Stir in the flour and cook for 1 minute until it forms a paste, ensuring no lumps remain.
- Gradually whisk in the milk, stirring constantly until thickened.
- Add the cheddar, mozzarella, and Parmesan cheeses, stirring until melted and smooth.
- Mix the cheese sauce with the macaroni. Season with garlic powder, onion powder, salt, and pepper.
- Pour into a baking dish and top with breadcrumbs if desired.
- Bake for 25-30 minutes or until bubbly and golden on top.


