
Traditional Flan Pâtissier (French Custard Tart)
The aroma of freshly baked custard wafts through the kitchen, wrapping around you like a warm hug. My first experience with flan pâtissier was during an autumn trip to France, where I stumbled upon a quaint café in a small village. The moment I took my first bite, the creamy texture and rich vanilla flavor instantly transported me to a place of bliss, complete with the subtle crunch of a perfectly baked crust. This delightful experience marks the beginning of a love affair with this exquisite dessert. You may also find Crispy Flank Steak For Thanksgiving useful.
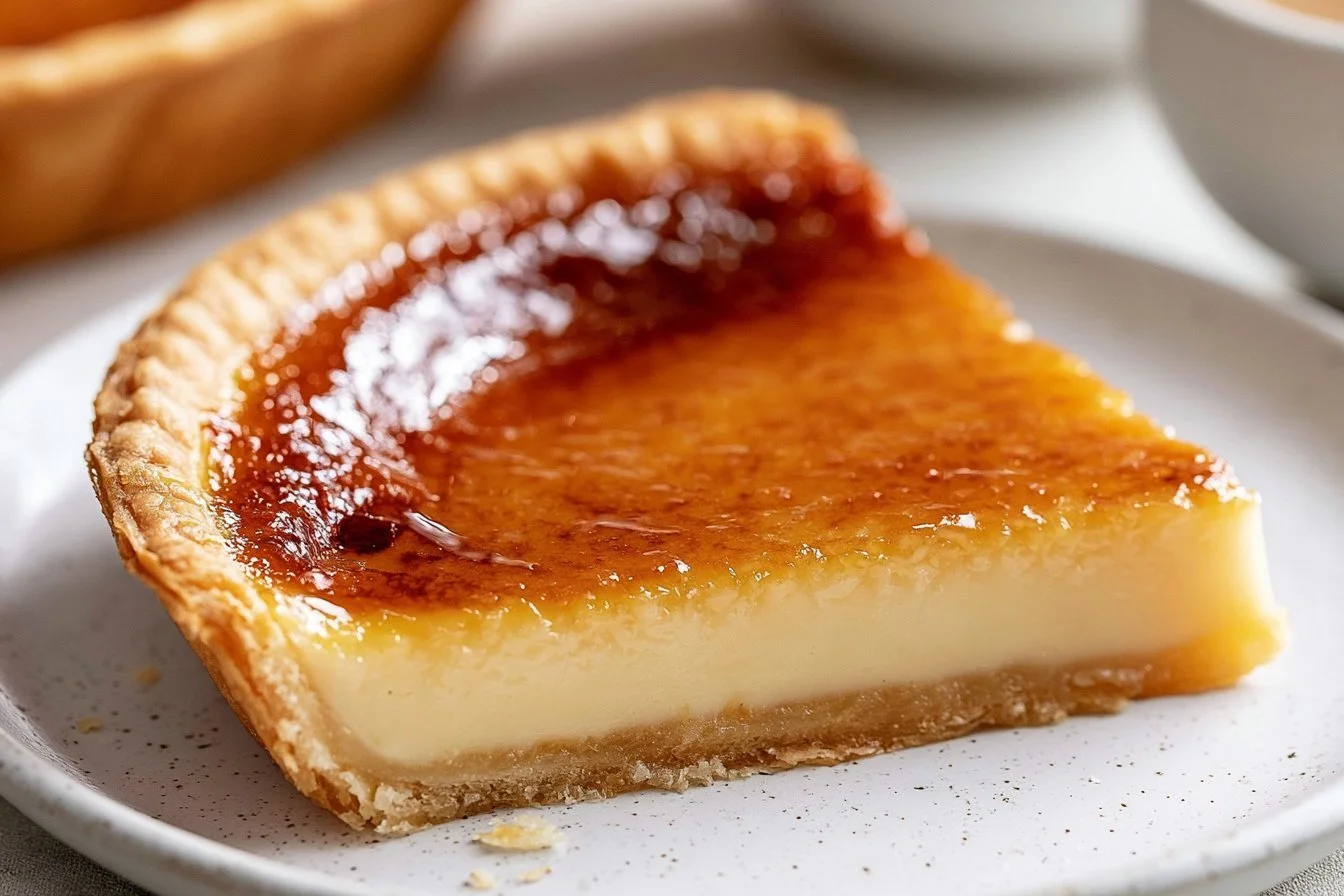
Flan pâtissier, a delectable traditional French custard tart, offers a wonderful way to indulge your sweet tooth while impressing your friends and family. Its creamy filling, balanced sweetness, and buttery crust make it a perfect finish to any meal. Below, we’ll explore the intricacies of making this classic dish and why it deserves a place in your baking repertoire.
Why you’ll love this traditional flan pâtissier
- Decadent Texture: Experience a creamy filling that melts in your mouth, perfectly complemented by a light and flaky crust.
- Quick Assembly: With a straightforward process, you can have this gorgeous dessert ready to bake in under an hour.
- Impressive Presentation: Serve it at any gathering and watch your friends and family marvel at this elegant tart.
- Rich Flavor: The combination of vanilla and egg creates a delightful flavor profile that pairs beautifully with coffee or tea.
- Versatile Dish: Whether you’re hosting a festive dinner or enjoying a cozy night in, this dessert is adaptable for any occasion.
Ingredients you’ll need
- 1 ½ cups milk (provides the base for the creamy filling)
- 1 ½ cups heavy cream (adds richness and helps achieve the correct texture)
- ½ cup sugar (balances the flavors)
- 1 vanilla bean or 2 teaspoons vanilla extract (for that lovely aromatic flavor)
- 4 large eggs (binds everything together and contributes to the custard-like texture)
- 1 tbsp cornstarch (helps stabilize the filling)
- 1 pre-made pie crust (for time-saving convenience — homemade works too!)
How to make traditional flan pâtissier (step-by-step)
- Preheat the Oven: Begin by preheating your oven to 350°F (180°C). This ensures an evenly baked crust and filling.
- Prepare the Custard: In a saucepan, combine the milk, cream, and sugar over medium heat. If using a vanilla bean, slice it open and scrape the seeds into the mixture. Bring to a gentle simmer, stirring frequently until the sugar fully dissolves.
- Whisk Eggs: In a bowl, whisk together the eggs, cornstarch, and vanilla extract (if using). Gradually pour the warm milk mixture into the egg mixture, whisking constantly to avoid scrambling the eggs.
- Blend It Smooth: Strain the custard mixture through a fine sieve into a separate bowl to ensure it’s perfectly smooth and free from lumps. This step is crucial for a silky texture.
- Fill the Crust: Place your pie crust in a tart pan and pour the custard mixture into the crust, being careful not to spill.
- Bake: Bake for 45-50 minutes, or until the filling is set with a slight wobble in the center. It should turn a lovely golden color.
- Cool Down: Remove from the oven and let it cool at room temperature for about an hour before chilling in the refrigerator for at least 4 hours, or overnight if possible.
- Serve: Once set, slice into wedges and serve chilled, garnished with fruit or a dusting of powdered sugar if desired.
Tips for the best results
- Quality Ingredients: Use high-quality vanilla beans and fresh eggs; they elevate the flavor to new heights.
- Room Temperature Eggs: Ensure your eggs are at room temperature before mixing them into the custard for smoother incorporation.
- Cooling Technique: Let it cool gradually first at room temperature to prevent cracks from forming as it chills in the refrigerator.
Common mistakes to avoid
- Overcooking: Keep an eye on the custard; overbaking can lead to a rubbery texture. A slight jiggle in the center is a sign it’s done.
- Not Straining: Skipping the straining step might lead to an uneven texture filled with lumps rather than the smooth custard you desire.
- Skipping the Chilling: Allowing the flan to chill overnight will improve its texture and flavor, making it much more delightful upon serving.
Variations
- Chocolate Flan Pâtissier: Add melted dark chocolate to your custard mix for a rich chocolate twist.
- Fruit-Infused Variations: Try infusing the milk with citrus or other fruits to add a unique flavor profile.
- Spiced Versions: Consider adding aromatic spices like cinnamon or nutmeg to your custard for a warm, inviting flavor.
Storage and reheating
Store any leftovers covered in the refrigerator for up to 4 days. Reheat gently in the microwave or serve cold straight from the fridge for best results. This dessert does not freeze well, as it can alter the texture of the custard.
Frequently asked questions
- Can I use a homemade crust instead of a pre-made one?
Absolutely! A homemade crust will elevate your flan pâtissier even further. - What should I do if the custard isn’t setting?
If you notice it’s still runny after baking, it may need more time in the oven, so check at 5-minute intervals. - Can I prepare this ahead of time?
Yes, making it the day before you plan to serve it is ideal for allowing it to chill and set properly.
Final thoughts
This traditional flan pâtissier took me on a journey through flavors and memories, reminiscent of that quaint French café. Inviting this creamy delight into your home will not only enhance your dessert repertoire but also serve as the perfect centerpiece for your celebrations.
Conclusion
To keep exploring the delicious world of French desserts, be sure to check out the delicious Flan Pâtissier recipe on RecipeTin Eats or dive into the details provided in this Flan Pâtissier recipe on Serious Eats. They can certainly help inspire your next baking adventure!


