
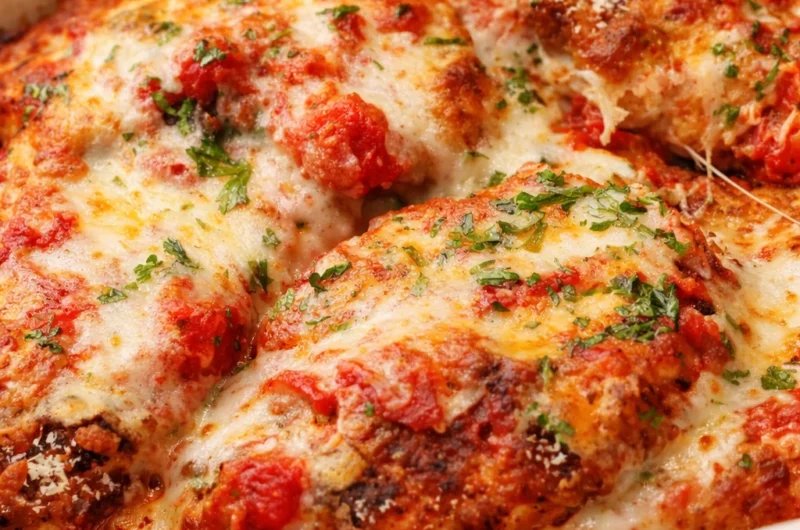
chicken parmesan recipe nights usually happen at my house when everyone is hungry, a little impatient, and I do not feel like making a complicated dinner. You know the vibe, you want something crispy, cheesy, and comforting, but you also want it to actually turn out right. This is the version I come back to because it is simple, reliable, and it tastes like a treat without being fussy. I will walk you through both baking and pan frying so you can pick what works for your mood and your schedule. If you have ever had soggy breading or dry chicken, do not worry, we are fixing that today. 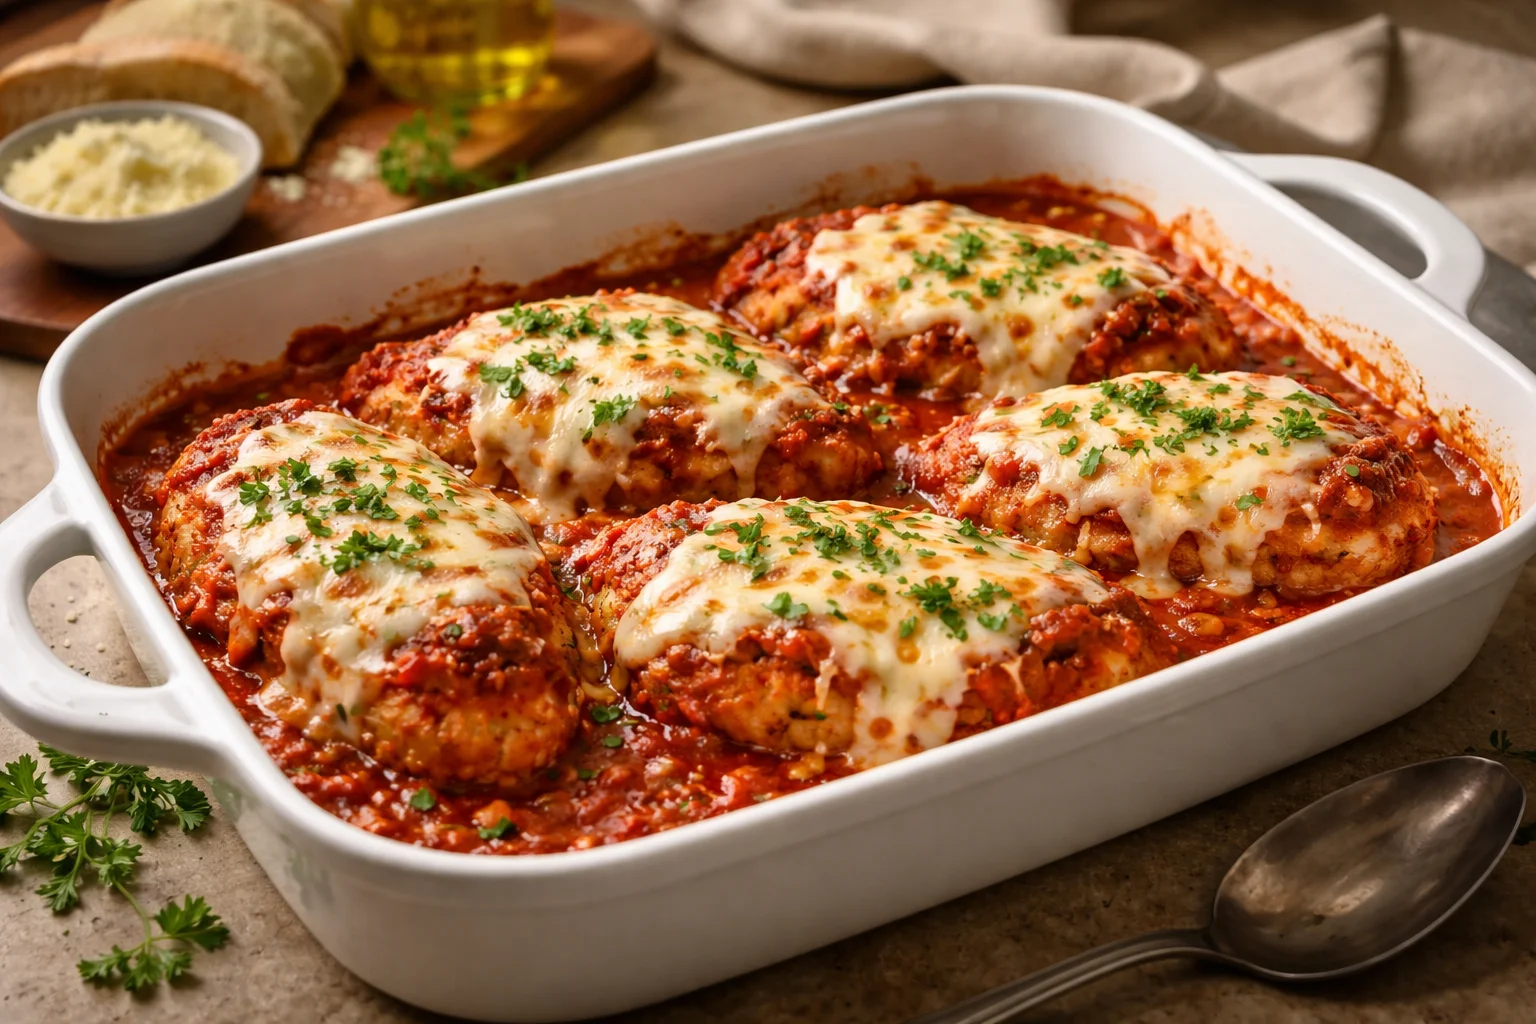
Key Ingredients for Italian Chicken Parmesan
Let me say this up front, the ingredients matter here, but you do not need anything fancy. The goal is crispy chicken, bright sauce, and that melted cheese pull that makes you want to take a second bite immediately. I like to keep a few staples on hand so I can pull this together on a weeknight.
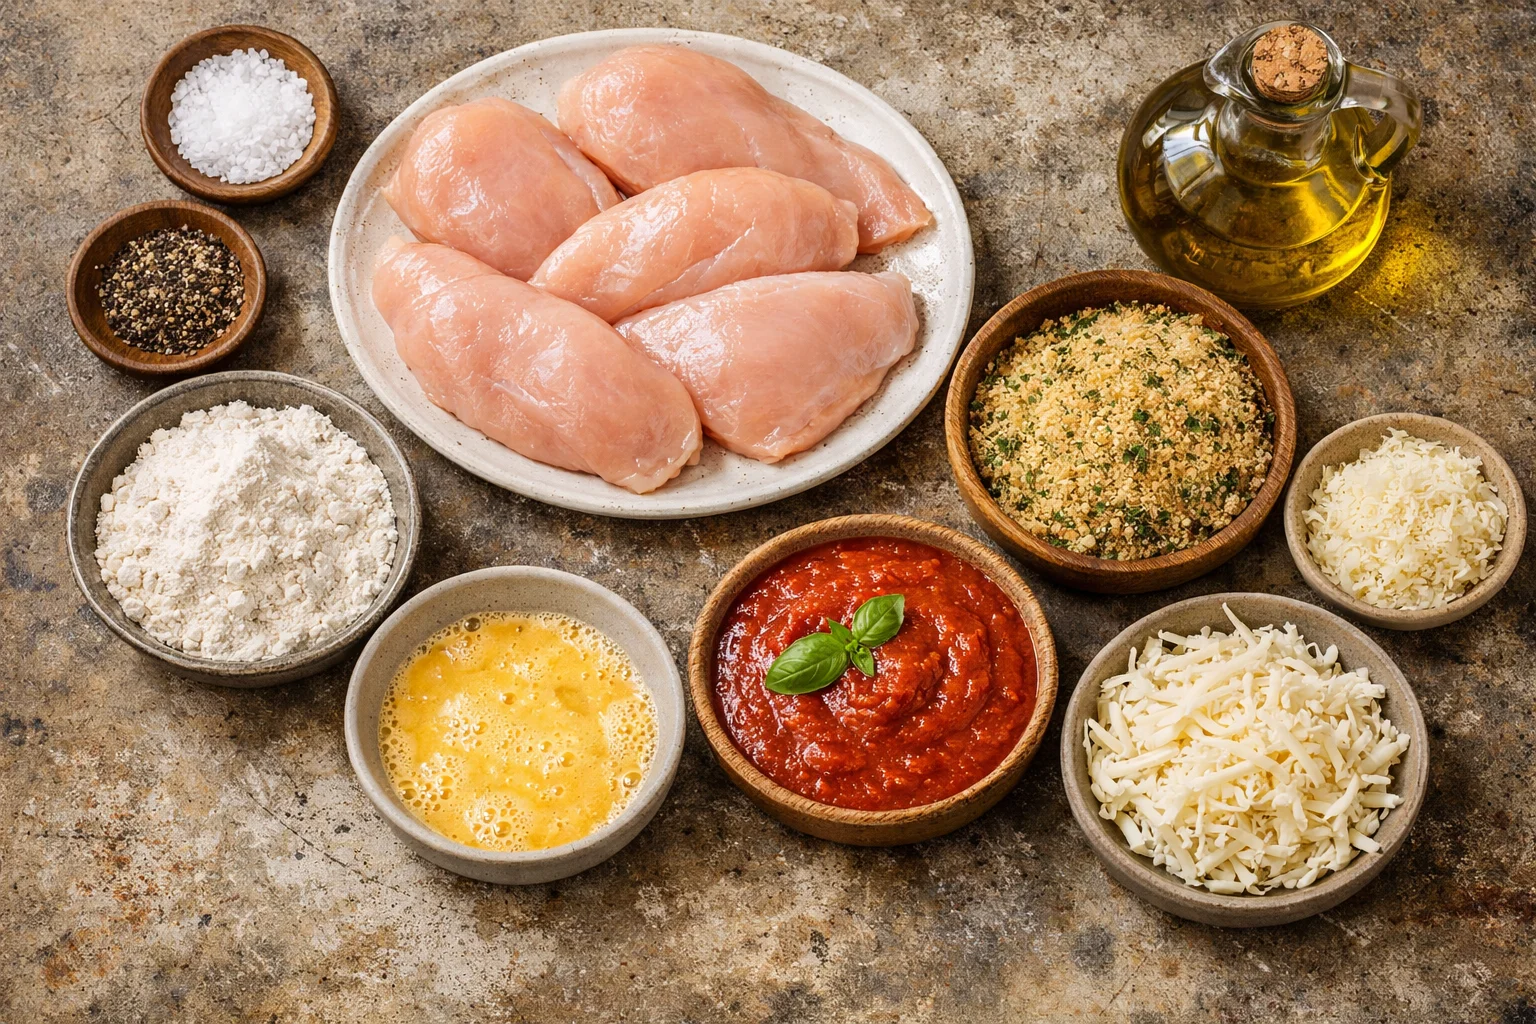
What you will need (my go to list)
- Chicken breasts, sliced in half lengthwise or pounded a bit so they cook evenly
- Salt and pepper, simple but do not skip it
- All purpose flour, for that first dry coat
- Eggs, beaten with a splash of water
- Bread crumbs, I like Italian style or panko plus a pinch of Italian seasoning
- Parmesan cheese, freshly grated if you can, it melts better and tastes sharper
- Marinara sauce, store bought is fine, just choose one you actually like
- Mozzarella, shredded or sliced
- Olive oil, for crisping and flavor
- Optional but great, garlic powder, dried oregano, red pepper flakes, fresh basil
Quick tip from my many, many tries: mixing some parmesan right into the bread crumbs makes the crust taste more like a restaurant chicken parm. Also, try not to drown the chicken in sauce before baking or it will lose that crunch.
And if you are on a chicken kick lately, I keep a bunch of easy ideas bookmarked in my own rotation, like this chicken recipes collection when I need more dinner inspo.
How to Make Chicken Parmesan Step by Step (Baked and Pan-Fried Method)
This is where it all comes together. I will share the same basic prep for both methods, then you choose baked or pan fried. If you want less mess, go baked. If you want that extra crunchy edge, pan frying is your friend.
Step 1: Prep the chicken
Slice each chicken breast in half horizontally so you get thinner cutlets. If they are still thick, cover with plastic wrap and lightly pound them so they are even. Season both sides with salt and pepper.
Step 2: Set up your breading stations
Grab three shallow bowls or plates:
- Plate 1: flour
- Plate 2: beaten eggs
- Plate 3: bread crumbs mixed with parmesan, and a little garlic powder or Italian seasoning
Step 3: Bread the chicken
Coat each piece in flour, then egg, then press into the bread crumb mixture. Press firmly so it sticks. Place on a tray while you finish the rest.
Now pick your method.
Baked method (lighter, easy cleanup)
1) Heat the oven to 425 F. Line a baking sheet with parchment, then drizzle with a bit of olive oil.
2) Place breaded chicken on the sheet and lightly spray or brush the tops with oil. This helps it brown.
3) Bake about 15 minutes, then flip and bake another 8 to 12 minutes until cooked through and crispy.
Then, add the topping:
Spoon a small amount of marinara on each cutlet. Do not flood it. Add mozzarella and a sprinkle of parmesan. Bake 3 to 5 minutes until melted and bubbly. If you want extra color, broil for 1 minute, but watch it closely.
Pan fried method (classic crunch)
1) Heat a large skillet over medium heat. Add enough olive oil to coat the bottom well.
2) Fry chicken 3 to 4 minutes per side until golden brown. Do not crowd the pan, it makes things soggy.
3) Move the chicken to a baking dish. Top with a little marinara, mozzarella, and parmesan.
4) Bake at 400 F for 8 to 10 minutes, just to finish cooking and melt the cheese.
My personal note: when I want quick comfort food, I do the pan fry. When I am trying to keep dinner a little lighter and less splattery, I bake it. Either way, this chicken parmesan recipe hits the spot.
If you want another easy chicken dinner that feels cozy but is basically foolproof, this one is great too: easy one pan chicken and rice dinner in 30 minutes.
“I made this for my family and everyone went quiet at the table, in the best way. The crust stayed crispy even with the sauce, and my kids asked for it again the next night.”
Difference Between Baking Chicken Parm vs. Pan-Frying
I get asked this a lot because people want the best method, but honestly it depends on what you care about most. Both are legit, and both can taste amazing if you do the small things right.
Baking is great when:
You want less oil, easier cleanup, and a more hands off process. It is also nice if you are cooking a bigger batch because the oven does the heavy lifting. The trade off is you need that little bit of oil on top, otherwise the breading can turn pale instead of golden.
Pan frying is great when:
You want maximum crisp and flavor. The crust gets that deep golden crunch and it feels super classic. The trade off is the extra oil and the fact that your stove becomes the main event for a bit.
Here is the biggest difference that people forget: with pan frying, you usually get a crispier first bite, but it can soften quickly if it sits under sauce too long. With baking, the crunch is slightly gentler, but it holds up a bit better if you keep the sauce light.
And hey, if you are the type who likes switching proteins during the week, I do the same. I will go from chicken parm to burgers or steak vibes without thinking twice. This beef recipes category is where I peek when I need a break from chicken.
Tips for Success
This is the part that saves you from the classic chicken parm issues, like soggy breading, cheese sliding off, or chicken that somehow turns dry even though it is covered in sauce. I have done all of those things before, so consider this my friendly warning list.
Slice or pound the chicken thin
Thinner cutlets cook faster and more evenly, and you get more crunchy crust per bite. Win win.
Season every layer
A little salt and pepper on the chicken, plus flavor in the bread crumbs, makes a huge difference. Chicken parm can taste flat if you only rely on sauce and cheese.
Press the crumbs in
Do not just lightly coat it. Press. That helps the crust actually stick and not fall off when you flip.
Do not drown it in marinara
I know it is tempting. But too much sauce is the fastest way to turn your crispy cutlet into a soft one. Spoon a little on top, then serve extra sauce on the side if you want.
Use a hot oven or hot oil
A good sizzle matters. If your oil is not hot, the chicken absorbs it. If your oven is not hot, the coating dries instead of browns.
Let it rest a couple minutes
Right after cooking, give it 2 to 3 minutes before slicing. It helps the juices settle so your chicken stays tender.
This chicken parmesan recipe is honestly not hard, it is just about a few smart habits. Once you do it once, you will feel like you have it forever.
Make-Ahead and Storage Tips
Chicken parm is one of those meals that feels special, but it can still play nice with real life. If you like prepping ahead, or you know you will have leftovers, here is what works best.
Make ahead
You can bread the chicken up to 8 hours ahead. Lay the cutlets on a sheet pan, cover, and refrigerate. When it is time to cook, go straight into the oven or pan.
Storing leftovers
Place leftovers in an airtight container in the fridge for up to 3 days. If you can, store extra sauce separately so the breading stays less soggy.
Reheating
The microwave works, but it softens the crust. If you want it closer to day one, reheat in the oven at 375 F for about 10 to 15 minutes. An air fryer also does a great job if you have one.
Freezing
For the best texture, freeze the cooked chicken cutlets before adding sauce and cheese. Wrap well and freeze up to 2 months. When you want to eat, bake from thawed, then add sauce and cheese at the end.
One more thing, if you are building a week of easy meals, having chicken ready to go is a lifesaver. This is a solid read if you like planning ahead: easy high protein chicken meal prep for the whole week.
Common Questions
1) What is the best cheese for chicken parm?
Mozzarella for that melt, parmesan for the salty bite. If you want extra flavor, mix in a little provolone with the mozzarella.
2) Can I use chicken thighs instead of breasts?
Yes, just flatten them a bit so they cook evenly. Thighs are naturally juicier, so they are harder to dry out.
3) How do I keep the breading from falling off?
Pat the chicken dry first, press the crumbs in firmly, and do not flip too early. Let the crust set before you move it around.
4) Should I cook the pasta separately?
Yes. I serve chicken parm over spaghetti or alongside it. Toss the pasta with warm marinara and a splash of pasta water for a silky sauce.
5) Can I make this gluten free?
Totally. Use gluten free flour and gluten free bread crumbs. Everything else stays basically the same.
A cozy dinner you will want on repeat
If you have been craving a classic comfort meal, this chicken parmesan recipe is a great one to keep in your back pocket. You get crispy chicken, warm marinara, and melty cheese, and you can choose baked or pan fried depending on your day. If you want to compare versions, I also like reading other takes like Chicken Parmesan Recipe (with Video) – Allrecipes and The Best Chicken Parmesan (Parmigiana) | A Simple Palate. Now go grab your skillet or sheet pan and make it happen, and do not be surprised if someone asks when you are making it again.
Chicken Parmesan
Ingredients
Method
- Slice each chicken breast in half horizontally to create thinner cutlets. Season both sides with salt and pepper. You may also gently pound them to ensure even cooking.
- Set up your breading stations: Place all-purpose flour in one shallow plate, beaten eggs in another, and bread crumbs mixed with grated parmesan and optional seasonings in a third.
- Coat each chicken piece in flour, then dip in eggs, and finally press into the breadcrumb mixture. Place breaded cutlets on a tray.
- Preheat your oven to 425°F (220°C) and line a baking sheet with parchment paper. Drizzle with olive oil.
- Arrange the breaded chicken on the baking sheet and lightly spray or brush the tops with olive oil.
- Bake for about 15 minutes, flip, and then bake for another 8-12 minutes until cooked through and crispy.
- Add a small spoonful of marinara sauce on each cutlet, top with mozzarella and a sprinkle of parmesan, and bake for 3-5 minutes until melted and bubbly.
- For extra browning, broil for 1 minute, watching closely.
- Heat a large skillet over medium heat and add enough olive oil to coat the bottom of the pan.
- Fry the breaded chicken for 3-4 minutes on each side until golden brown. Avoid overcrowding the pan.
- Transfer the cooked chicken to a baking dish, once fried, and top with marinara sauce, mozzarella, and parmesan.
- Bake at 400°F (200°C) for 8-10 minutes to finish cooking and melt the cheese.


Pingback: Crispy Parmesan Cloud Chicken Bombs