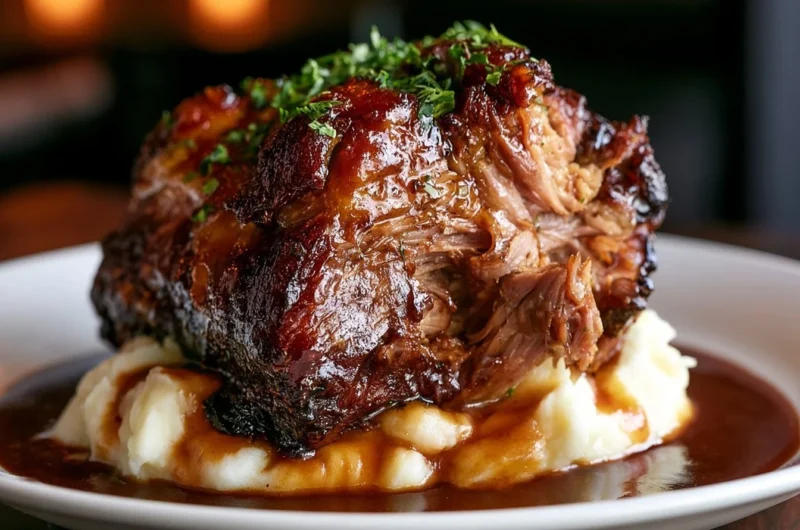
Crispy German Pork Knuckle: A Journey to Perfectly Crisped Delight
The aroma of roasting pork wafted through the air, mingling with the warm, golden scent of freshly baked bread. I remember the first time I tasted a Crispy German Pork Knuckle at a bustling outdoor market in Munich, where locals gathered to devour this culinary treasure. The sound of crackling skin punctuated the air as the vendor carved into the succulent meat, sending juices splattering onto the wooden board. That moment, filled with vibrant flavors and textures, ignited my passion for recreating this iconic dish at home. You may also find Bbq Chicken Drumsticks With Crispy Fries And Garden Salad useful.
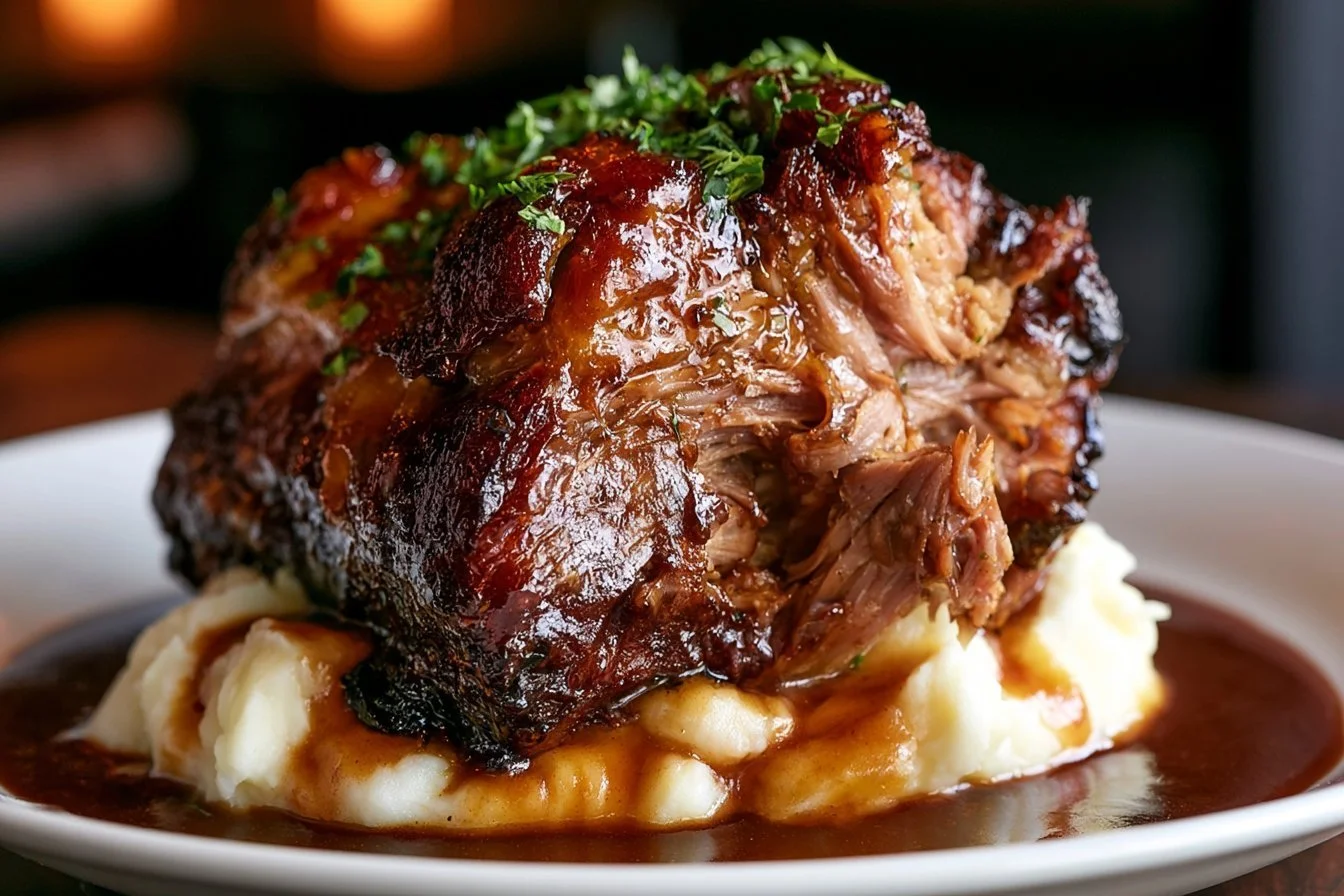
In this article, we’ll explore how to achieve that irresistible crispy exterior and tender meat that makes Crispy German Pork Knuckle a beloved favorite across the globe. Get ready to impress your family and friends with this traditional dish that brings the essence of Germany right to your kitchen. You may also find Beef Stew With Crispy Potatoes useful.
Why you’ll love this Crispy German Pork Knuckle
- The combination of crunchy skin and tender meat creates a textural paradise that’s hard to resist.
- Braising and roasting techniques ensure each bite is full of flavor, making it a show-stopping dish for gatherings.
- Versatile enough to pair beautifully with a variety of sides, from sauerkraut to roasted vegetables.
- Once mastered, you can whip this up at home, impressing everyone with your culinary skills.
Ingredients you’ll need
- 1 pork knuckle (the star of the show, perfect for slow cooking)
- Salt (for seasoning; enhances the flavor of the meat)
- Black pepper (adds a touch of heat)
- Garlic (fresh cloves are best for aromatic depth)
- Onion (for sweetness during the roasting process)
- Carrot (adds earthy flavors while braising)
- Chicken or vegetable broth (helps keep the meat moist)
- Beer (optional, adds a wonderful flavor depth)
How to make Crispy German Pork Knuckle (step-by-step)
-
Prepare the Pork Knuckle: Begin by patting the pork knuckle dry with paper towels. This step is crucial for achieving a crispy skin. Score the skin in a crosshatch pattern, being careful not to cut into the meat.
-
Season Generously: Rub the salt and black pepper all over the knuckle, ensuring it gets into the cuts. This will help with the flavor and enhance the crackling.
-
Sear the Meat: Heat a large skillet over medium-high heat and sear the pork knuckle on all sides until it’s golden brown. This should take about 10 minutes. The goal is to get that beautiful brown crust going.
-
Braise: Transfer the seared pork to an oven-proof pot. Add chopped onion, carrots, garlic, and the broth. If you’re using beer, now’s the time to pour it in. Cover the pot and place it in an oven preheated to 300°F (150°C) for about 3 hours.
-
Crisp the Skin: After braising, increase the oven temperature to 425°F (220°C). Remove the lid and roast the pork knuckle for an additional 30-45 minutes until the skin is crispy and blistering. Keep an eye on it to avoid burning.
-
Rest: Once out of the oven, let the pork knuckle rest for about 15 minutes before slicing. This allows the juices to redistribute, ensuring moist meat.
-
Serve: Slice the knuckle and serve it with your favorite sides. Try pairing it with crispy fries or a fresh garden salad for a complete meal.
Tips for the best results
- Dry the Skin: The drier the skin before roasting, the better your crackling will be. Consider letting the knuckle rest uncovered in the fridge overnight.
- Use a Meat Thermometer: The pork should reach an internal temperature of at least 160°F (70°C) for safety and optimal texture.
- Don’t Skip the Braising: This step allows the flavors to build and ensures your meat is tender. The low and slow process is key to achieving perfection.
Common mistakes to avoid
- Overcrowding the Pot: If your pot is tightly packed, the pork won’t crisp properly. Use a large pot or adjust accordingly.
- Not Scoring the Skin: Skipping this step could result in skin that doesn’t crackle—just don’t cut too deep!
- Insufficient Rest Time: Allowing the pork knuckle to rest is vital. It leads to better flavor and moisture retention.
Variations
- Spices: Experiment with your spice mix by adding paprika or coriander for a unique twist on the flavor.
- Side Dishes: Serve with crispy fries for a delightful contrast in textures.
- Saucing: Try drizzling with a tangy mustard sauce or homemade gravy for added richness.
Storage and reheating
- Refrigeration: Store leftover pork knuckle in the fridge for up to 3 days in an airtight container.
- Reheating: To reheat, place in a 350°F (175°C) oven until warmed through. For extra crispiness, you can place it under the broiler for a few minutes.
Frequently asked questions
- Can I use frozen pork knuckle? Yes, just ensure it’s fully thawed before cooking for even results.
- Why did mine turn out dry? This could be due to overcooking. Use a meat thermometer to check doneness.
- Can I make this ahead? Yes, you can braise the knuckle ahead of time and roast it before serving.
Final thoughts
The joy of cutting into a perfectly crispy German Pork Knuckle, with its shattering skin and tender, juicy meat, is worth every effort. Reliving that moment from the market, where flavors dance and fill the air, is something you can create in your kitchen. Gather your loved ones, share this culinary delight, and step into the heart of German cuisine.
Conclusion
Crispy German Pork Knuckle is not just a dish; it’s an experience that transports you to a world of flavor and tradition. For an amazing recipe, try out the Crispy German Pork Knuckle (Schweinshaxe) with Beer Gravy, or explore another take with Pork Knuckle German Style (Schweinshaxe) – Mad Creations Hub. Indulge in this beloved dish that offers warmth, comfort, and a satisfying crunch with every bite.
Crispy German Pork Knuckle
Ingredients
Method
- Pat the pork knuckle dry with paper towels to achieve a crispy skin.
- Score the skin in a crosshatch pattern, being careful not to cut into the meat.
- Rub the salt and black pepper over the knuckle, ensuring it gets into the cuts.
- Heat a large skillet over medium-high heat and sear the pork knuckle on all sides until golden brown, about 10 minutes.
- Transfer the seared pork to an oven-proof pot and add chopped onion, carrots, garlic, and broth. If using beer, pour it in now.
- Cover the pot and place it in an oven preheated to 300°F (150°C) for about 3 hours.
- Increase the oven temperature to 425°F (220°C). Remove the lid and roast the pork knuckle for an additional 30-45 minutes until the skin is crispy and blistering.
- Let the pork knuckle rest for about 15 minutes before slicing to allow the juices to redistribute.
- Slice the knuckle and serve with your favorite sides, such as crispy fries or a fresh garden salad.